Creating a 3D room from an AI image.
Project: 'The Renaissance Room'
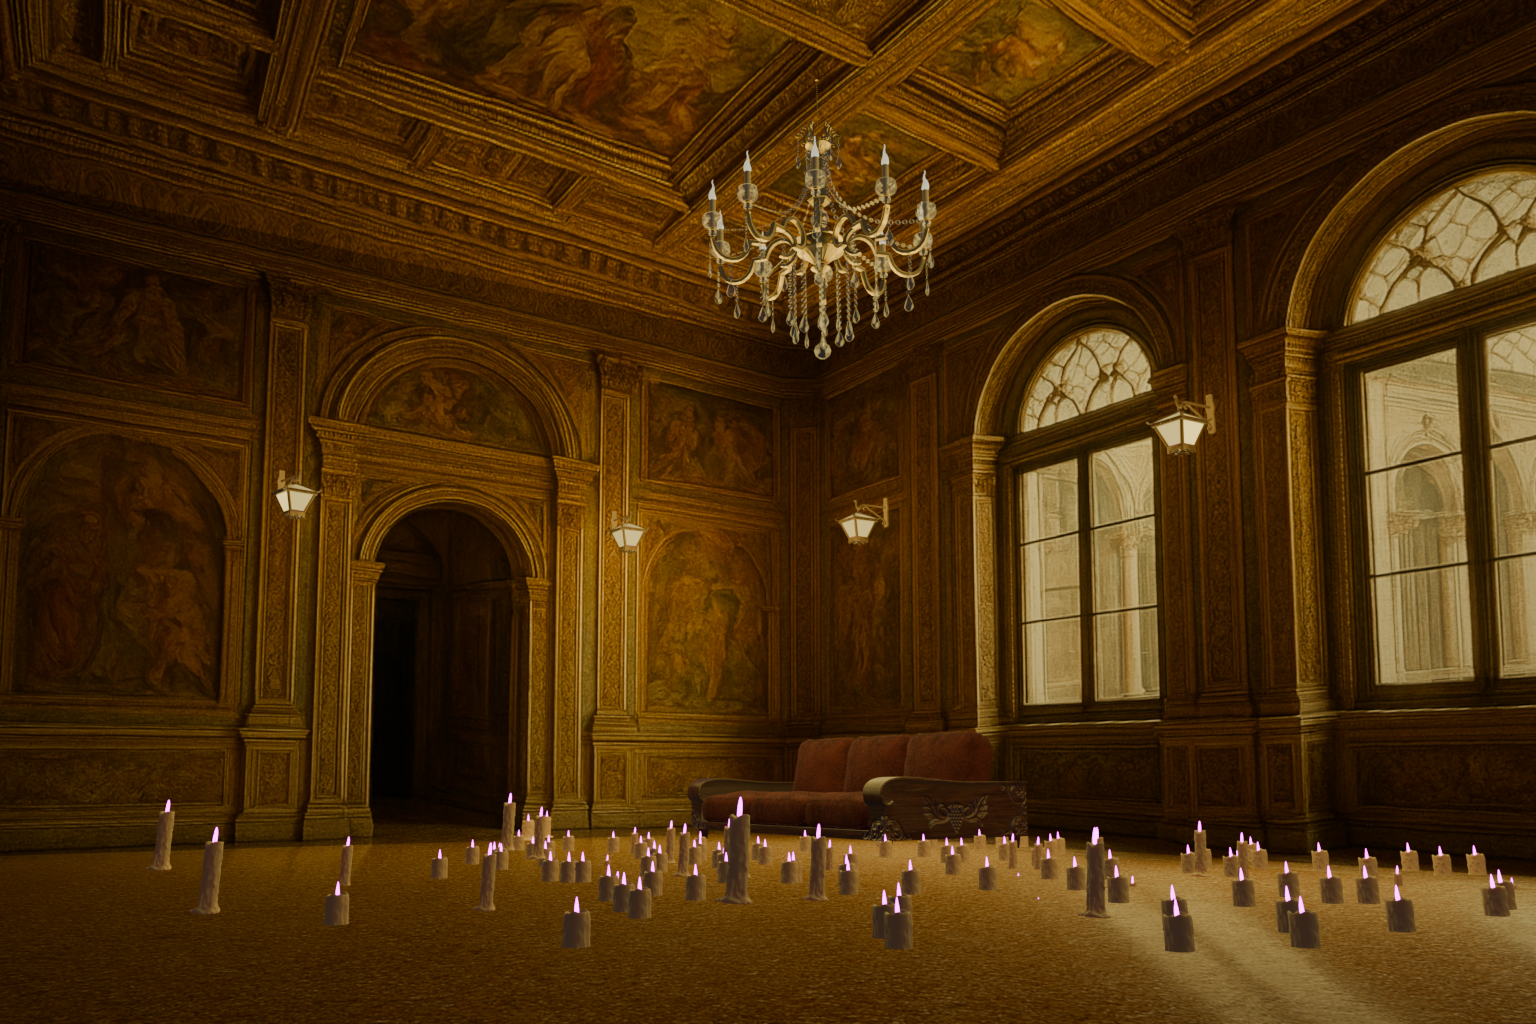
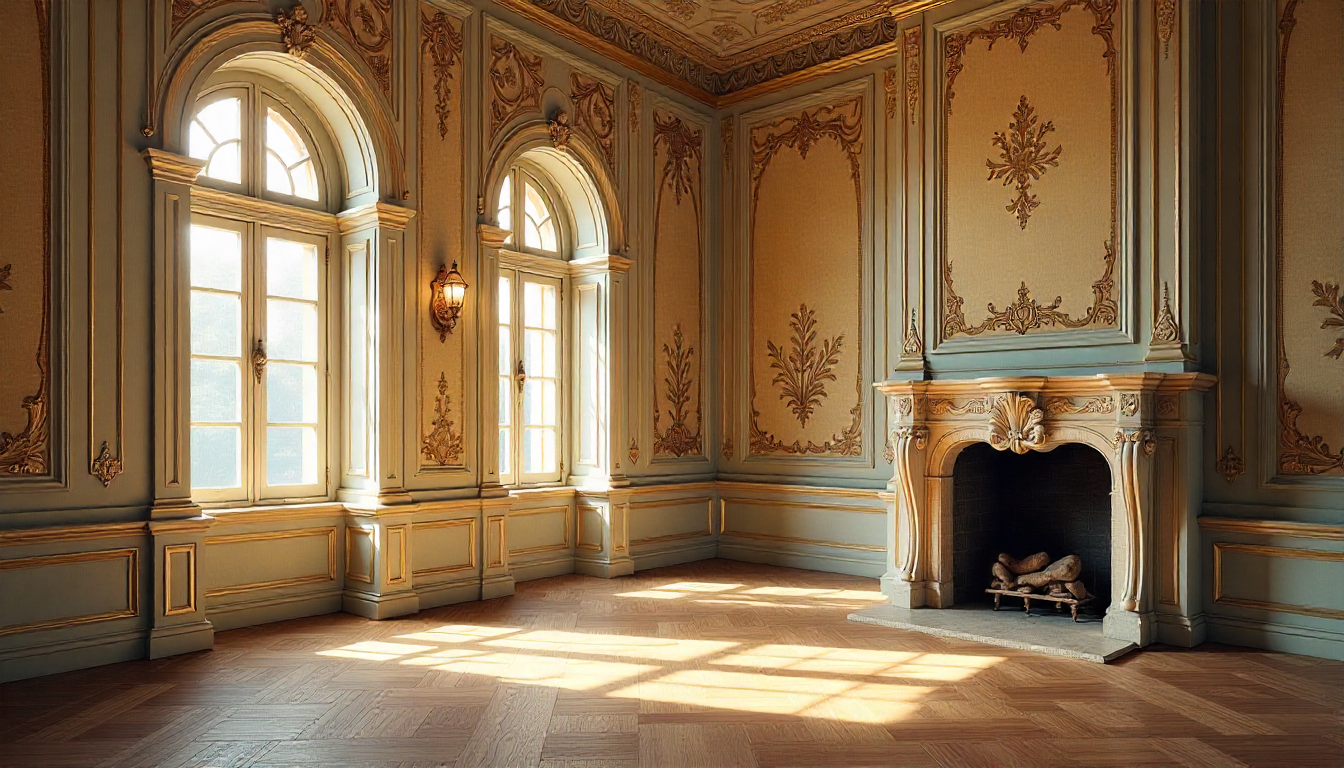
Step 1: Select the AI-rendered room to make it into a 3D environment. However, it needed to be empty to experiment with particle systems.

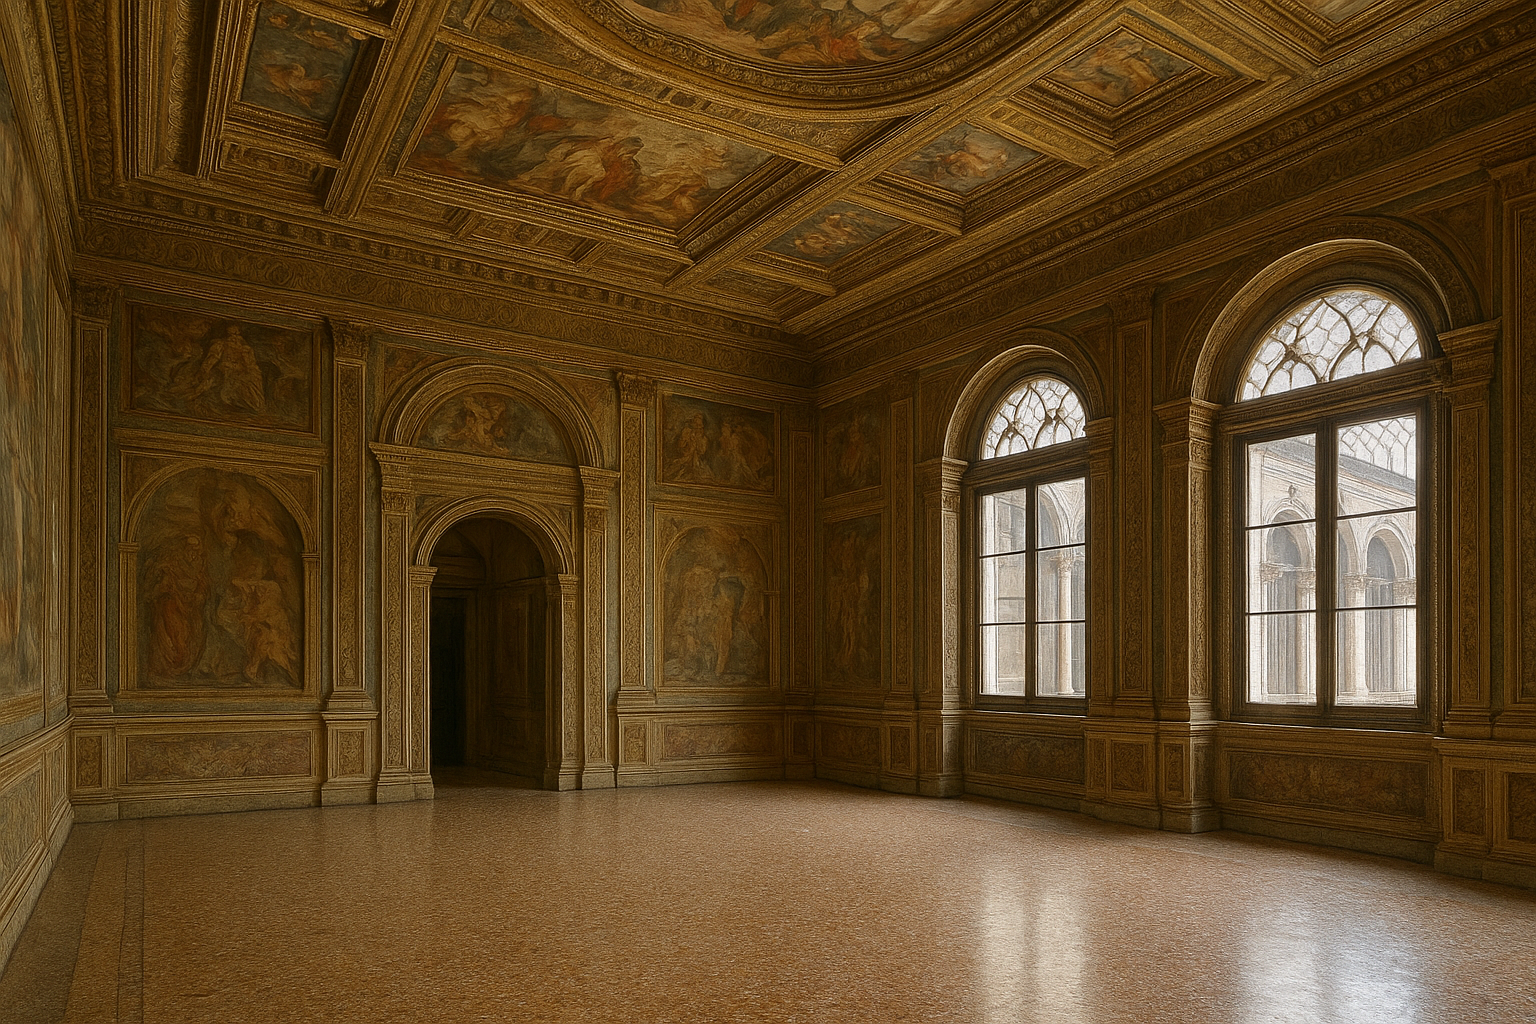
Step 2: The perfect 'Renaissance Room'...
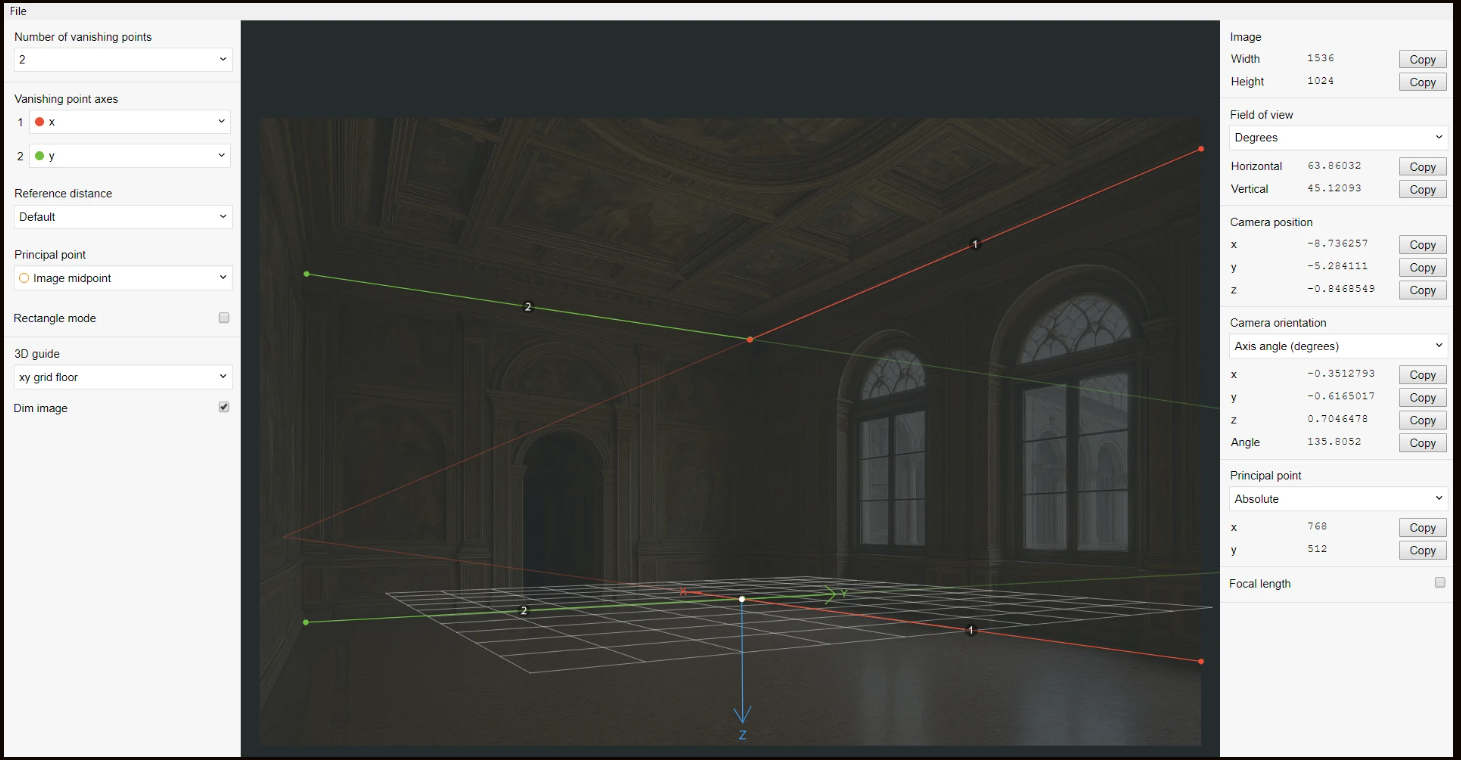
Step 3: Use the FSpy.exe tool to analyze the room’s axes. Utilizing two vanishing points is often more convenient for room layouts. Most importantly, add an XY plane as a reference, positioning its origin at the center of the XY-plane. This setup simplifies the next step, with its origin at the plane's center step—importing the layout into Blender—and ensures accurate alignment within the 3D workspace.
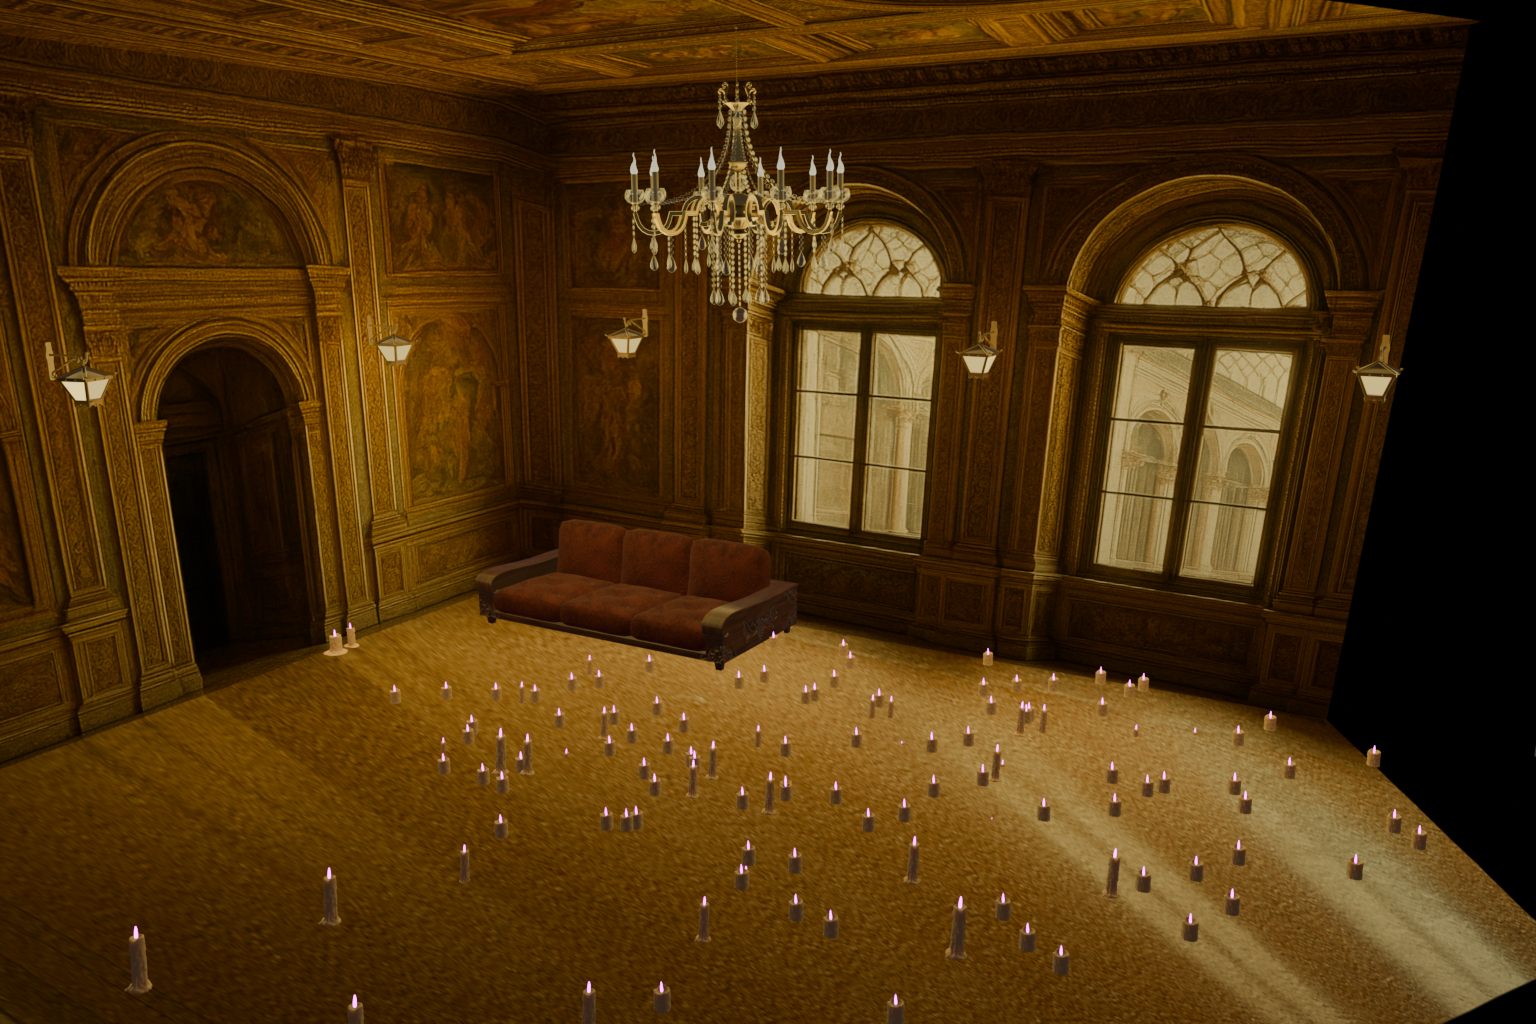
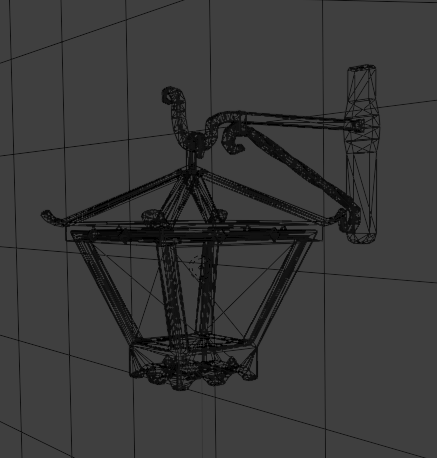
Step 4: Import the FSpy project into Blender. Using the axis information as a guide, model the room accurately by aligning your geometry with the perspective grid. Apply shading techniques to create realistic textures and extrude surfaces to add depth and detail. Use UV mapping matched with the FSpy camera view to properly unwrap and texture the model.
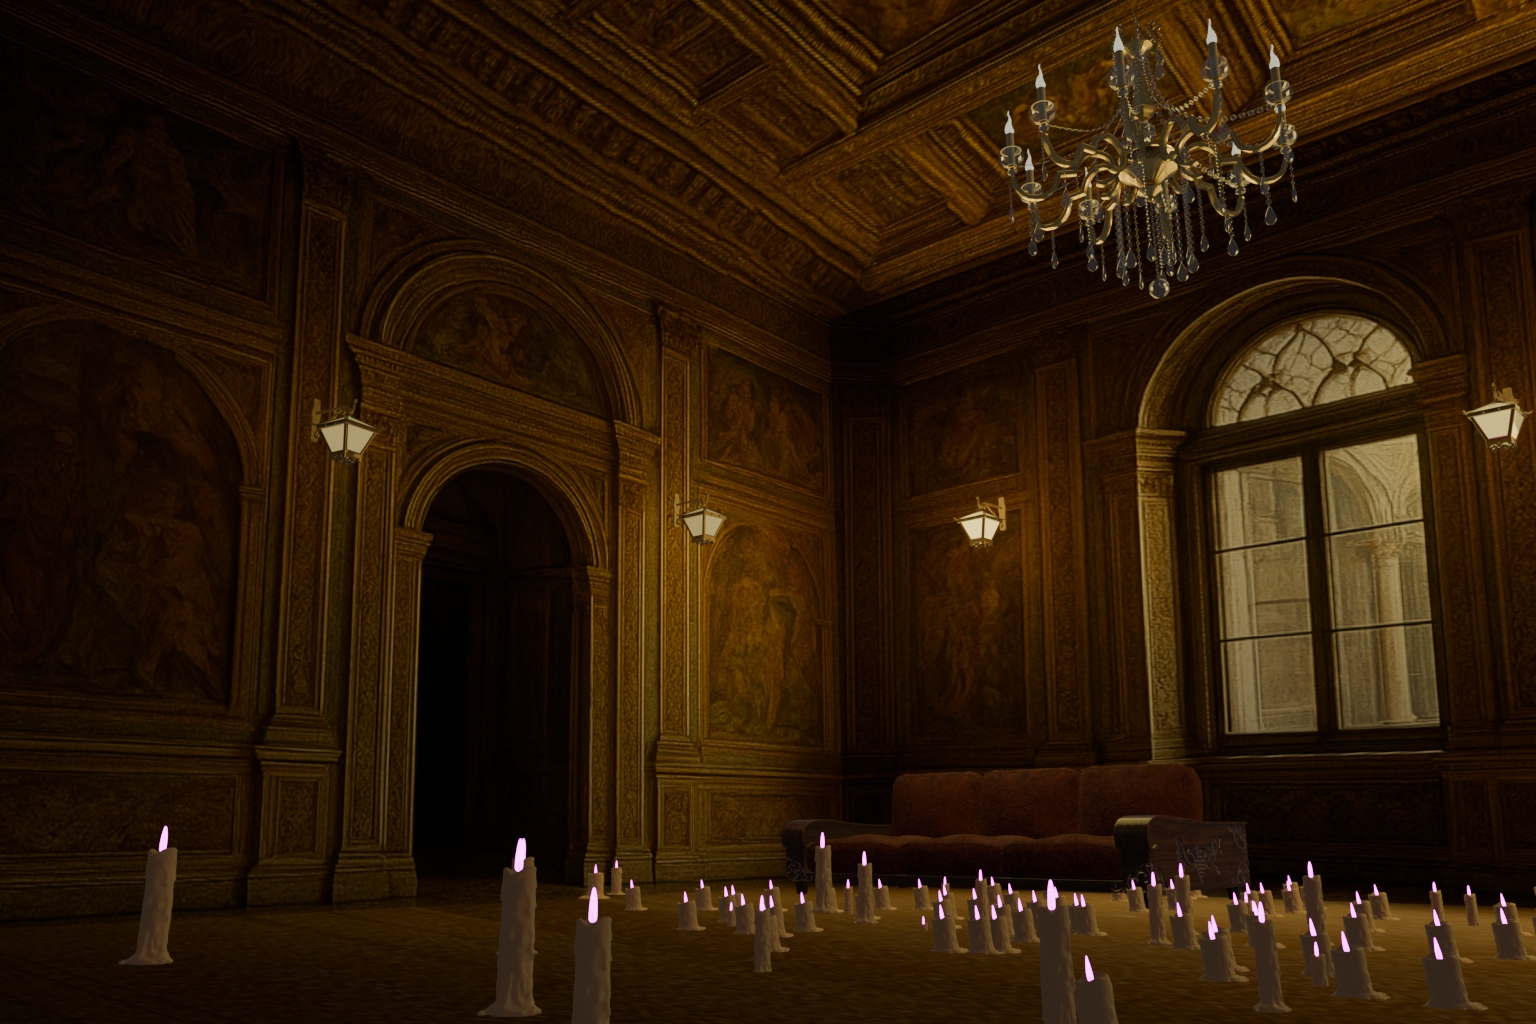
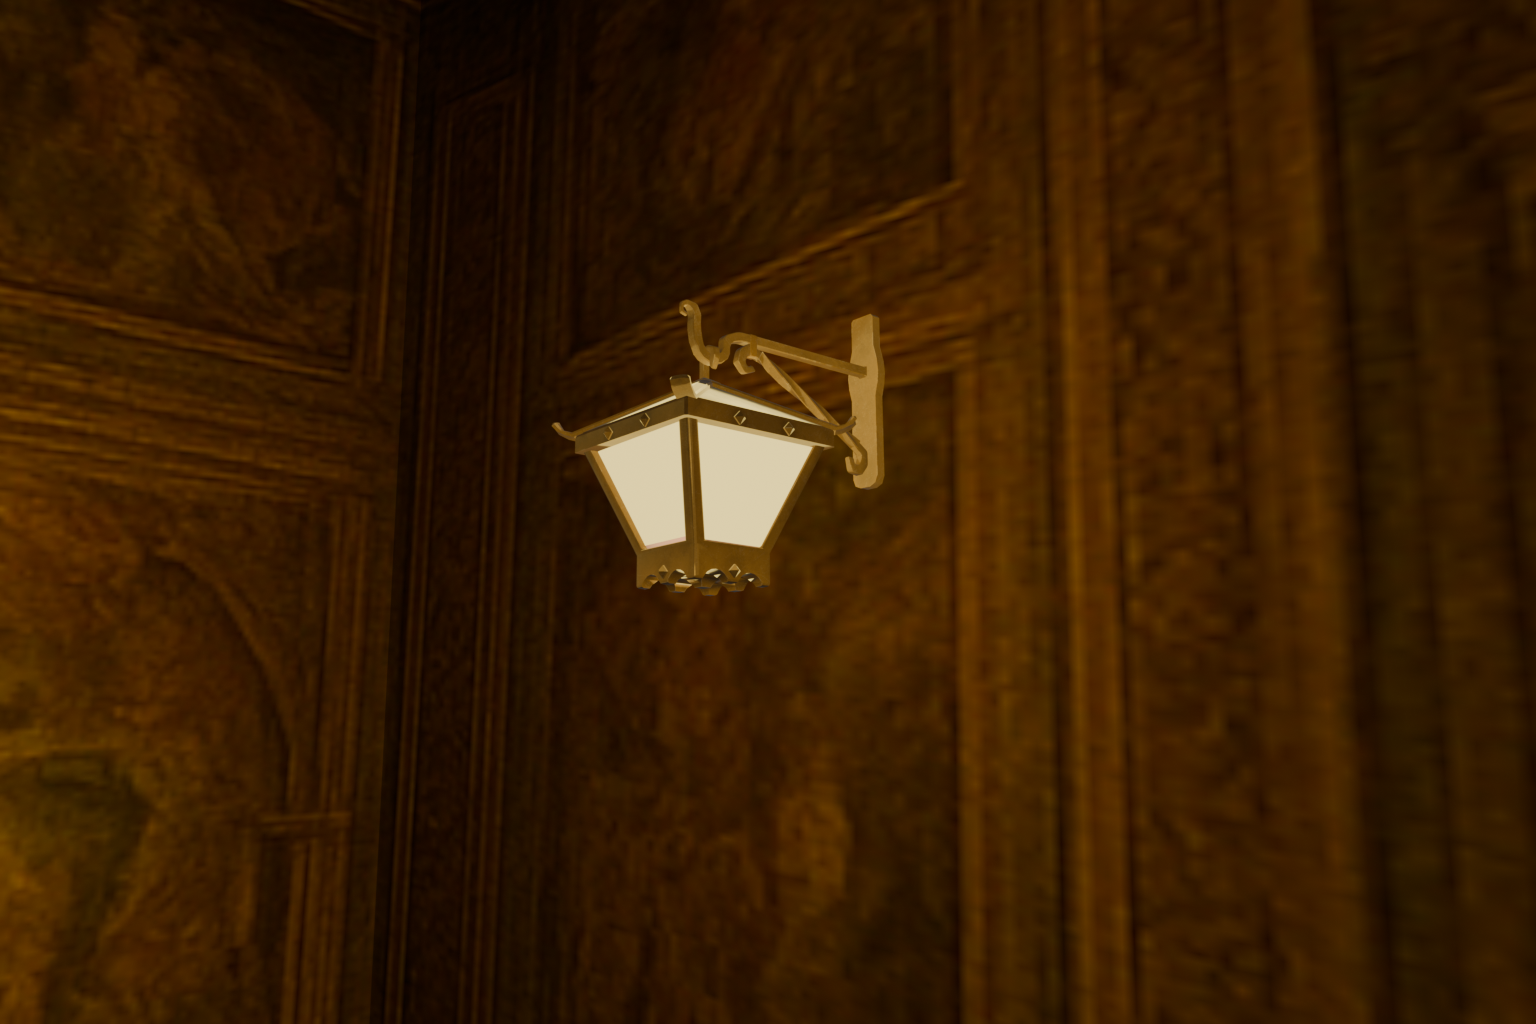
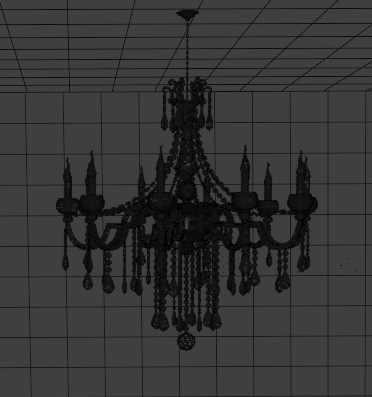
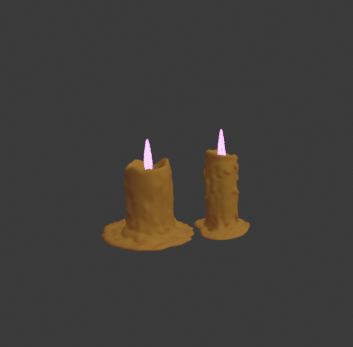
Step 5: Add assets and props to complete the feel you want for the environment. Using particle systems for the candles!
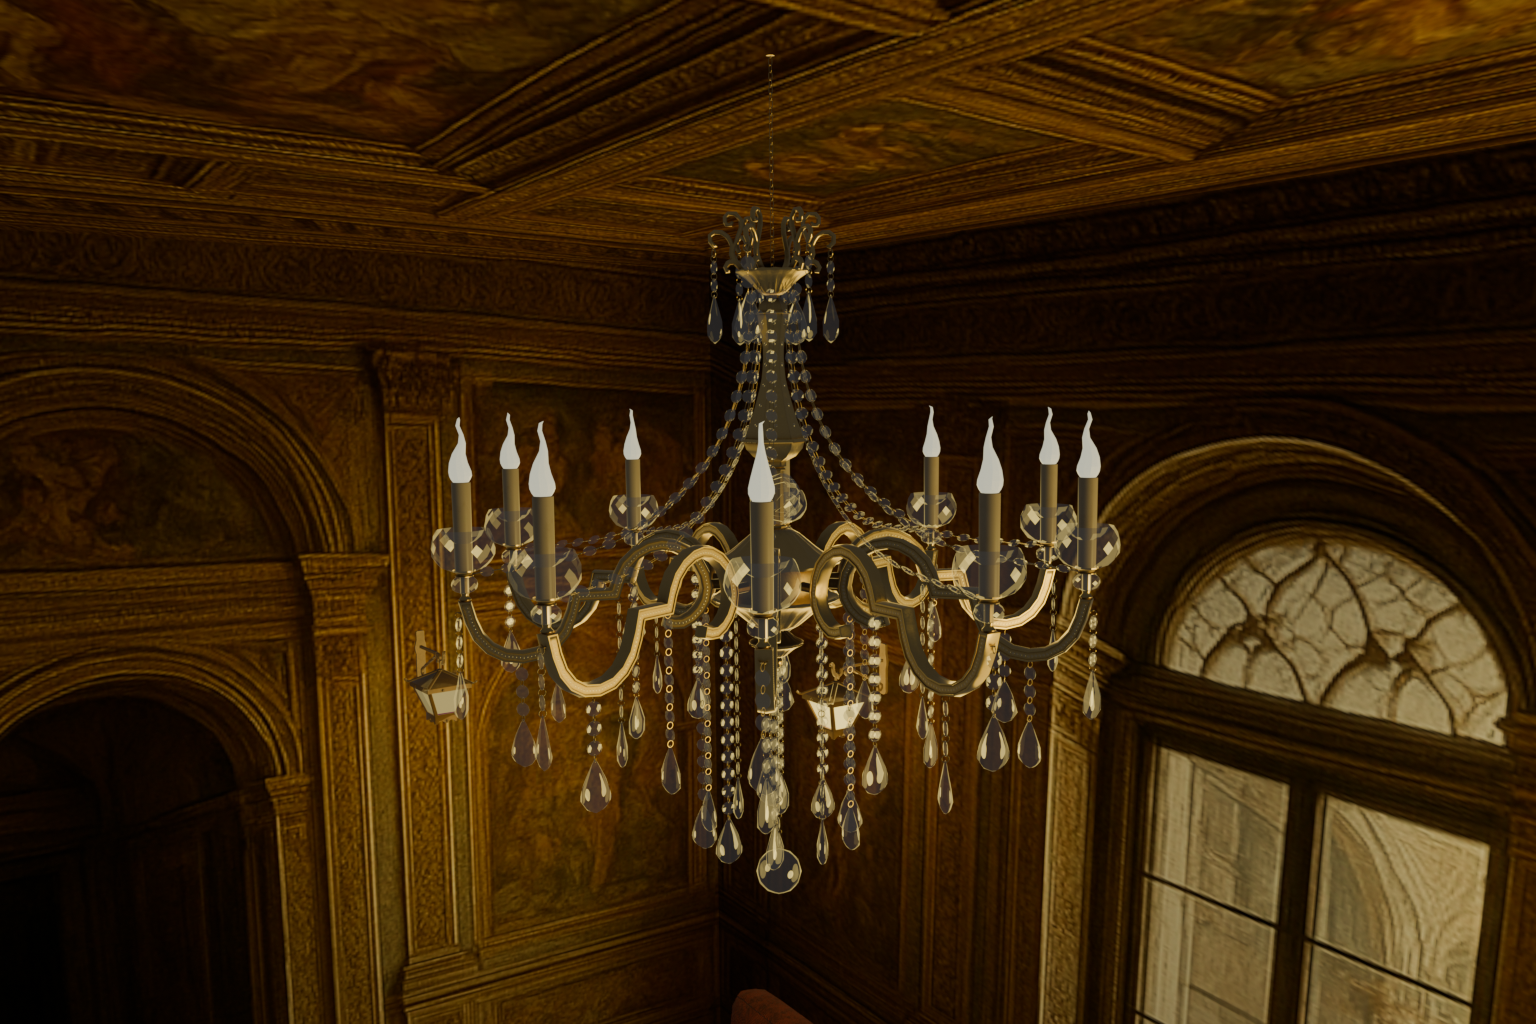
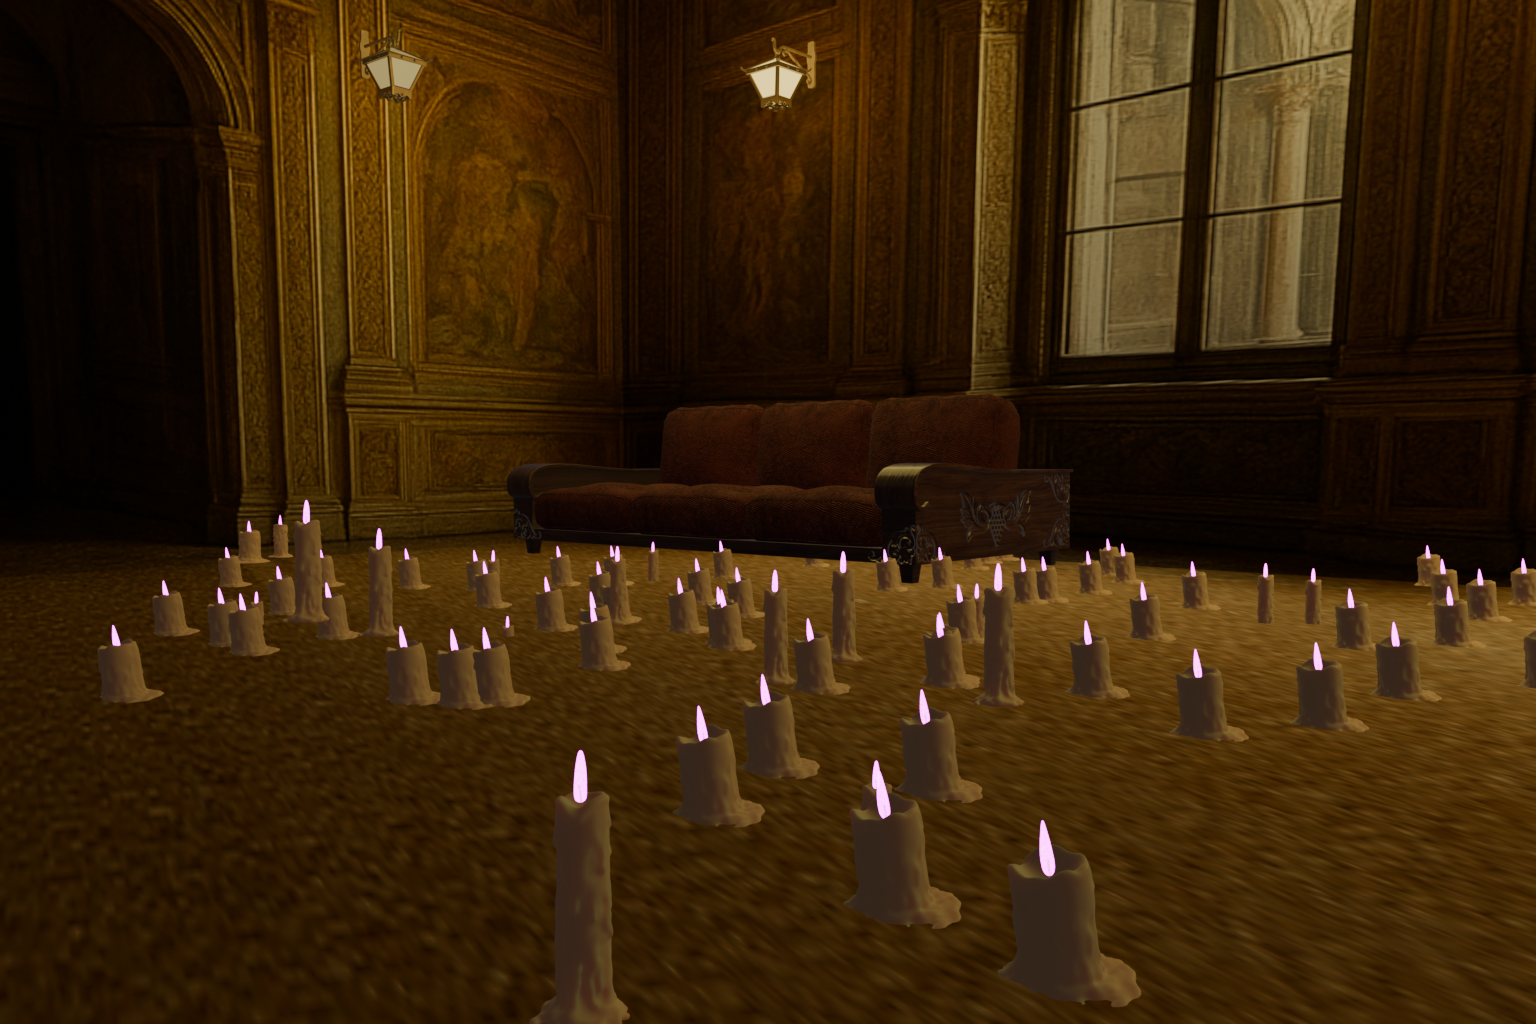
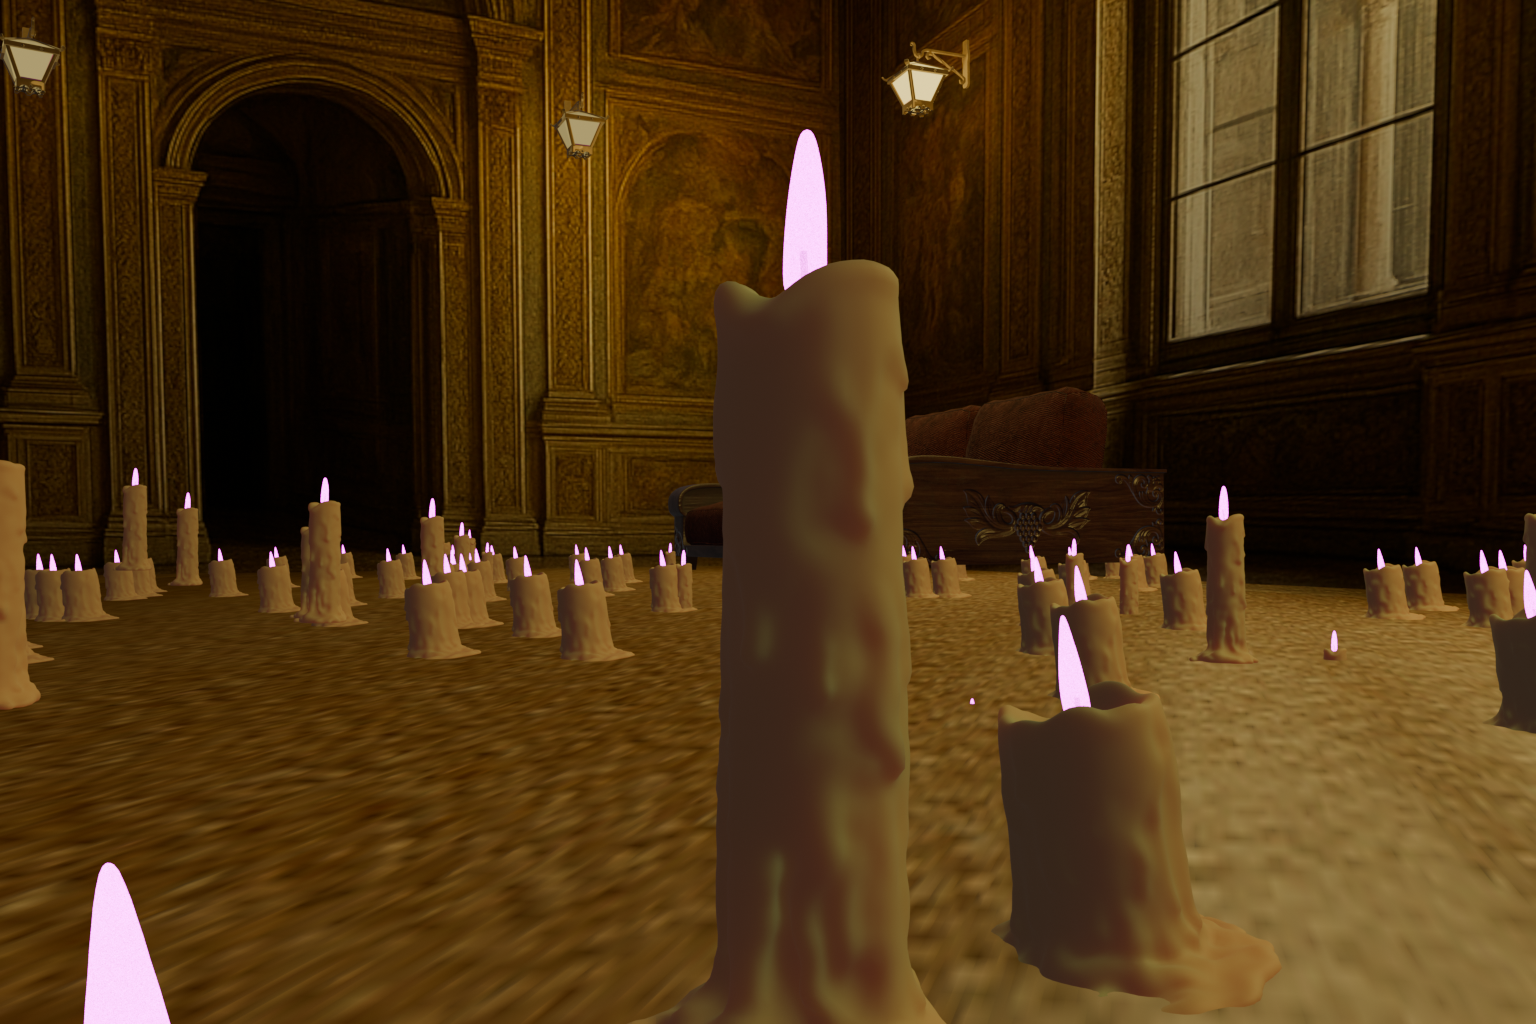
Step 6: Tweak until you are happy with your renders.